

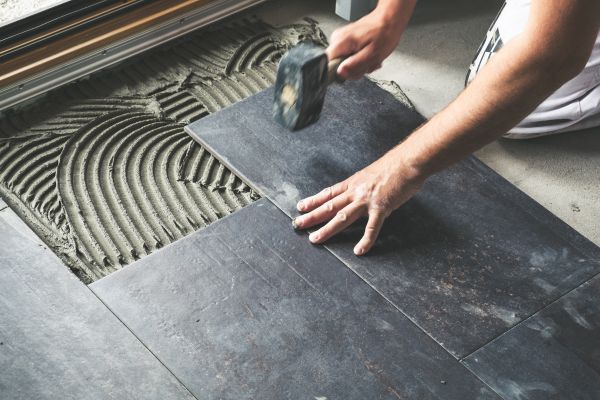
Getting new floors is incredibly exciting, but let’s be honest: the “construction zone” phase right before you get to enjoy them can cause a lot of anxiety. Whether you are refreshing a single bedroom or remodeling your entire main level, knowing exactly what is going to happen—and when—is the secret to a stress-free project.
Different materials require vastly different preparation and installation times. A project that takes one afternoon for one material might take an entire week for another due to how the product reacts to your home’s environment.
Generate Your Project Roadmap
Curious how long your project will actually take? Select the flooring material you are interested in below to instantly generate a step-by-step roadmap for your home.
What type of flooring are you installing?
Delivery & Acclimation 24-48 Hrs Before
Boxes of Luxury Vinyl Plank (LVP) or Laminate are brought into your home to adjust to your indoor temperature, preventing future buckling.
Tear Out & Leveling Day 1
Old flooring is removed. The most critical step happens here: leveling the subfloor. Rigid core planks require a perfectly flat surface so the locking mechanisms don’t break.
Floating Installation Day 1-2
Because these are “floating floors” (no glue or nails), the planks click together quickly. You can walk on them immediately after they are laid down.
Trim & Cleanup Final Day
Baseboards are re-installed, transition strips are placed at doorways, and the room is cleaned. Your space is instantly ready for furniture!
The Crucial Acclimation 3 to 7 Days
Real Hardwood is a living material. It MUST sit inside your home for several days to absorb or release humidity, otherwise it will warp heavily after installation.
Subfloor Preparation Day 1
Old floors are ripped out to expose the plywood subfloor. Installers ensure the wood subfloor is structurally sound, dry, and clean.
Nail/Glue Down Install Day 2-3
The planks are systematically nailed or glued down. This process takes longer than floating floors because it requires immense precision to keep rows perfectly straight.
Finishing Touches Final Day
Shoe molding is installed to cover expansion gaps. If you chose pre-finished wood, you can move furniture back in immediately!
Tear Out & Inspection Morning
The crew removes the old carpet and padding. The subfloor is swept and inspected for any hidden squeaks or damage.
Tack Strips & Padding Mid-Day
New tack strips are secured around the perimeter. The premium moisture-barrier padding is laid down and stapled to ensure a soft, insulated step.
Roll-Out & Power Stretching Afternoon
The Carpet (or modular Carpet Tiles) is cut to size. Installers use a power stretcher to pull it drum-tight, ensuring no wrinkles ever appear.
Done in a Day Evening
Vacuuming and cleanup. Furniture is moved back into place, and you can enjoy your cozy new room before dinner time.
The Ultimate “Install-Ready” Homeowner Checklist
The installation crew will handle the heavy lifting, the subfloor prep, and the installation. But there are a few crucial things you need to do before they knock on your door to ensure the project stays on schedule. Track your progress below.
Your Prep Status: Not Ready
0%Installers can move large couches, but you must clear all books, lamps, electronics, clothing, and fragile decor from the rooms and closets being floored.
Doors will be propped open, and loud saws will be running. Arrange for doggy daycare or secure your pets in a closed room with their food and water.
If you are switching from thin sheet vinyl to a thicker hard surface, your doors might drag on the new floor. Note any doors that might need to be shaved down.
Your home must be climate-controlled (A/C or heat on) for at least 48 hours before installation so the new materials can properly adjust to your home’s humidity.
Want a precise timeline and budget tailored to your specific rooms?
Our experts map out the whole process so there are zero surprises.


